Racing 140.6 miles is too big of a problem to solve through fitness alone. Rather, it’s an exercising in making smart decisions as you efficiently drive your fitness vehicle around the course. Therefore, the more difficult races are the ones that force you to make frequent decisions on terrain on which making poor decisions can be especially costly. That is, if a course forces you to make frequent decisions on costly, hilly terrain, and you consistently make good decisions, you’re likely to have a good day. But make consistently bad decisions and you’re guaranteed to have a bad day.
Judge by this criteria, the Ironman® Wisconsin bike course is likely the most difficult in North America, simply because you are never doing one thing for more than 2-3 minutes at a time, with the course constantly throwing decision point after decision point at you.
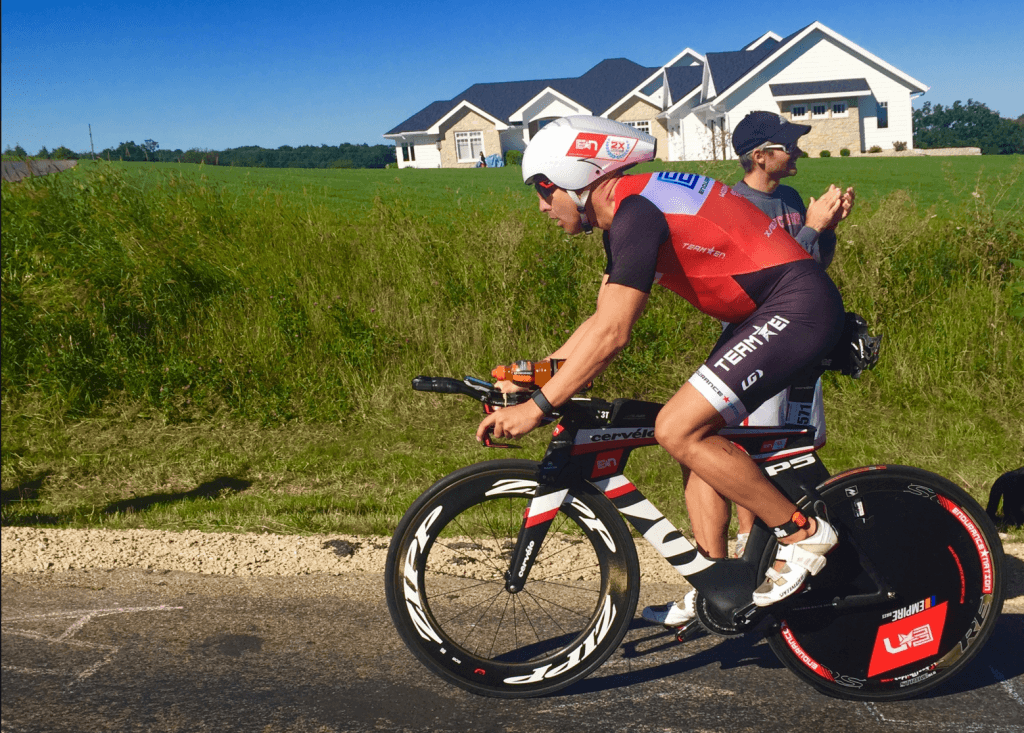
What follows are my Ironman® Wisconsin tips for you, gained from coaching at the race every year since it’s beginning in 2002, having run 10+ training camps on the course, and having raced it four times, most recently in 2015 where I was 35th overall and 5th in M45-49 with a 10:07.
The Swim
The Ironman® Wisconsin swim is one of the last remaining mass starts on the Ironman® calendar. However, with a wide and deep starting line, it’s not nearly as crowded or chaotic as other mass starts have been, and the thousands of spectators lined up along the shore and overlooking the swim from the Monona Terrace add a stadium-like feel to the swim start. My tips for you:
- Exiting Transition to the Swim Start: don’t go down to the swim start from transition via the “helix,” but instead find the stairs next to the elevator near the helix. Take the stairs and encourage your family to meet you at the bottom, in the service parking area of the terrace. Then simply walk to the swim start via the bike path.
- Swim start positioning: all of the fast swimmers like to line up right on the buoy line. Everyone else wants to get as far away from them as possible, so they are packed in close to shore, leaving the center of the start line, by the ski ramp, relatively uncrowded. So the best place to position yourself is by the ski ramp.
- Swim Pacing: our advice for all Ironman® swims is to only swim as fast as your ability to maintain form. If you feel your form begin to degrade, simply slow down. And the best method to maintain your focus on your form is to simply count your strokes. The act of counting your strokes will bring your head back into the box of what you should be thinking about: what you can control and your swimming technique cues regarding head position, hip rotation, catch, pull, etc.
- The Course: the first leg of the swim is a standard 800 meters to the first turn, followed relatively quickly by another left. But this third leg of the sorta-rectangle is very, very, very long. Just be prepared for it.
T1
- Setup: last year the race organizers let the athletes have their shoes clipped into the pedals, so that’s something to consider. Also consider every item in your transition plan and eliminate as many moving parts as possible. We highly recommend you plan to do stuff while riding on your bike vs in a crowded transition. That is, have your sunglasses, nutrition, etc taped to your bike and put them on or in your pockets while you’re riding safely down John Nolen Drive at the start of the bike.
- The Helix: the Ironman® Wisconsin T1 is a long one that begins with long run up the “helix,” the parking garage exit. Walk or jog, don’t sprint up the helix and be sure to enjoy the encouragement of spectators lined up on either side of you…but don’t put on a show! Take your time (sorta), this is a long start to a long day!
The Bike
For 2016 construction on the bike course has force the organizers to make some significant changes to the course, most notably taking the athletes up Barlow Hill, a monster of a climb that has gotten the long course triathlon interwebs more than a little spun up. My advice: don’t worry about it. Show up with enough gears on your bike, ride it and everything else on the course the way I’m about to show you, and realize that everyone else has to ride it too.
- Gearing: last year I rode a 5:13 bike split with a 52/36 chainrings and a 28-11 cassette…a rather girly setup if you were to ask your local bike shop for advice. Why? You simply can’t have enough gears on your bike in an Ironman® and I put enough gears on my bike so that I almost never see a cadence of less than about 70-75rpm. Therefore I recommend that everyone race with either a compact crank (50/34) and a 28-11 or 12 cassette. If the compact crank is outside your budget, absolutely get that cassette or even bigger (ie, 30-12) if doing so is within your budget. Be sure to ask your bike shop about what if any additional modifications they may have to make to your bike before installing such a big climbing cassette.
- Flatten the hills on the bike: this is how we teach our athletes to ride hills on an Ironman® bike course —
- Entrance: as you approach a hill and the road begins to go up while your cadence and speed begin to decrease, (1) pay attention to the pressure on the soles of your feet and your cadence, then downshift quickly through the gears maintaining this same on-the-flats pedal pressure and cadence at the entrance to the hill. At the same time (2) watch the other athletes around you and observe they are NOT doing this, with the result that they instantly gap you by 2-5 bike lengths. Don’t worry, they are working too hard and you are not!
- Body of the Hill: as you run out of gears and are now just getting up the hill, ask yourself “what is the effort I should be climb up this hill, given that I still have to ride X miles and then run a marathon!” When you frame the question that way, it’s pretty clear that it’s not about how quickly you get up this hill but rather what is the correct effort to set up the marathon. And the answer is…comfortably!
- Crest: as your begin to reach the top of the hill and your cadence and speed increases (1) do our pedal pressure and cadence drill again, this time upshifting quickly the gears, maintaining your climbing effort across the crest and into the downhill. At the same time (2) observe the athletes around you and notice their body language. They will likely shut it down at the crest and immediately begin to coast. More importantly, observe how little real estate they’ve gained on you despite their massive effort at the entrance and in the body of the climb.
- Downhill: keep pedaling and only coast when your speed is about 33-34mph. Very important: this speed on the downhill sets up your speed across the next flat into the next hill and the next. Always be thinking “Conservation of Momentum” and keep your speed rolling across the course through the intelligent and steady application of power in the hills.
- Terrain Centric Execution: as your pedal your bicycle around the course simply ask yourself “how should I ride this terrain feature, this headwind/tailwind, take this turn, etc in order to set myself up for the last 8 miles of the run?” Don’t worry about this or that specific hill, especially Barlow, or what to do at mile X vs Y of the course. Instead, just focus on making excellent decisions in real time given the terrain that’s right in front of your nose right now.
And so notice I’m purposely not going to tell you how to ride this or that section of the course, because if you apply that hill climbing guidance and your focus on terrain centric execution, the course will take care of itself! But if you want an inch by inch breakdown of the course, as well as Wisconsin-specific heart rate and power pacing guidance, please be sure to attend my FREE Four Keys of Wisconsin Talk at the Overture Center for the Arts. Details are here.
The Run
After such a challenging bike course the Ironman® Wisconsin run course is rather generic, with nothing super crazy epic that you need to especially concerned about. But there are some things to be aware of:
- High Energy First ~2 Miles: the first couple miles of the race are very high energy as you run around the capitol square, down State Street, and through town. Don’t get caught up in putting on a show and instead run very, very, very easy!
- Observatory Drive: note the series of ~3 rather significant rollers on Observatory. These hills come at you at about mile 18-19 on your second lap so run all day in a manner that sets you up to run vs walk up these hills.
- Crowded Bike Paths and Aid Stations: much of the run is on a bike path through campus that, with hundreds of runners, volunteers, and aid stations, can get pretty crowded. However, it does make for nearly constant spectator support through much of the run.
- Final Climb Up State Street: finally, the last ~1 mile of each lap includes a grade up State Street to the capitol square. It’s relatively short, but just be aware of and prepared for it.
In Summary
Even though I live in SoCal, there’s are many reasons I consider Wisconsin to be my home race and why I’ve raced it 4 times: the course rewards smarts and execution skills vs pure fitness, the spectator support on the course is phenomenal, and the city of Madison is full of both small town and big city charm and things to do. The secret to a good race in Madison: show up fit and smart, and be ready to exercise Patience and Discipline all day!
Join Coach Rich in Madison for your FREE Four Keys of Wisconsin Pre-Race Talk! Click on the image below for details and to RSVP!


Leave a Reply